If you’re into gardening or farming, chances are you’ve heard about neem oil. It’s hailed as nature’s miracle pesticide — and for good reason. Derived from the seeds of the neem tree (Azadirachta indica), neem-based pesticides are organic, biodegradable, and safe for humans and animals (when used properly). But as with all good things, how you use neem matters just as much as the product itself.
Whether you’re dealing with pesky aphids in your rose garden or fighting off whiteflies in your greenhouse, this guide will walk you through the best practices for applying neem-based pesticides effectively and responsibly.
What Makes Neem So Special?
Let’s start with the basics.
Neem contains several active compounds, but the most powerful is azadirachtin. It works in a few ways:
- Repels insects
- Disrupts their feeding habits
- Interferes with hormone systems, preventing growth and reproduction
- Kills soft-bodied insects on direct contact
Unlike synthetic pesticides that act immediately (and sometimes harshly), neem works gradually, which actually helps prevent pests from developing resistance. That’s a big win for long-term pest control.
When Should You Use Neem-Based Pesticides?
Neem pesticides are best used as preventative treatments or early in an infestation. Think of neem as your garden’s immune booster — it strengthens your plants’ defenses rather than nuking the ecosystem.
Neem is effective against a variety of pests, including:
- Aphids
- Mealybugs
- Whiteflies
- Spider mites
- Thrips
- Fungus gnats
- Caterpillars (certain species)
But neem isn’t just for bugs! It also has antifungal properties and can help manage issues like powdery mildew and black spot.
How to Apply Neem-Based Pesticides: Step-by-Step
Now, let’s dive into how to use neem oil correctly, whether you’re using a store-bought neem pesticide or making your own DIY spray.
- Pick the Right Time of Day
Never spray neem oil during the heat of the day — it can burn your plants. The best time to apply is early morning or late evening when temperatures are cooler, and the sun is low.
Also, insects like bees and butterflies are less active during these times, so you’re less likely to harm beneficial pollinators.
- Check the Weather Forecast
Neem needs time to work, so avoid applying before rain or watering. Ideally, it should stay dry for at least 6-12 hours after application.
Humidity and cooler temps also help prevent the spray from evaporating too quickly.
- Mix it Properly (If You’re Using Concentrate)
If you’re using a concentrated neem oil product, here’s a simple DIY recipe:
- 1 tablespoon cold-pressed neem oil
- 1 teaspoon mild liquid soap (as an emulsifier)
- 1 liter (about 4 cups) of warm water
Mix the soap and water first, then add neem oil while stirring continuously. Shake well before pouring into a spray bottle.
Pro Tip: Make only what you need for one use. Neem oil degrades quickly when mixed with water.
- Do a Patch Test
Before going full throttle, spray a small test patch on one or two plants. Wait 24 hours. If there’s no leaf burn or discoloration, go ahead and spray the rest.
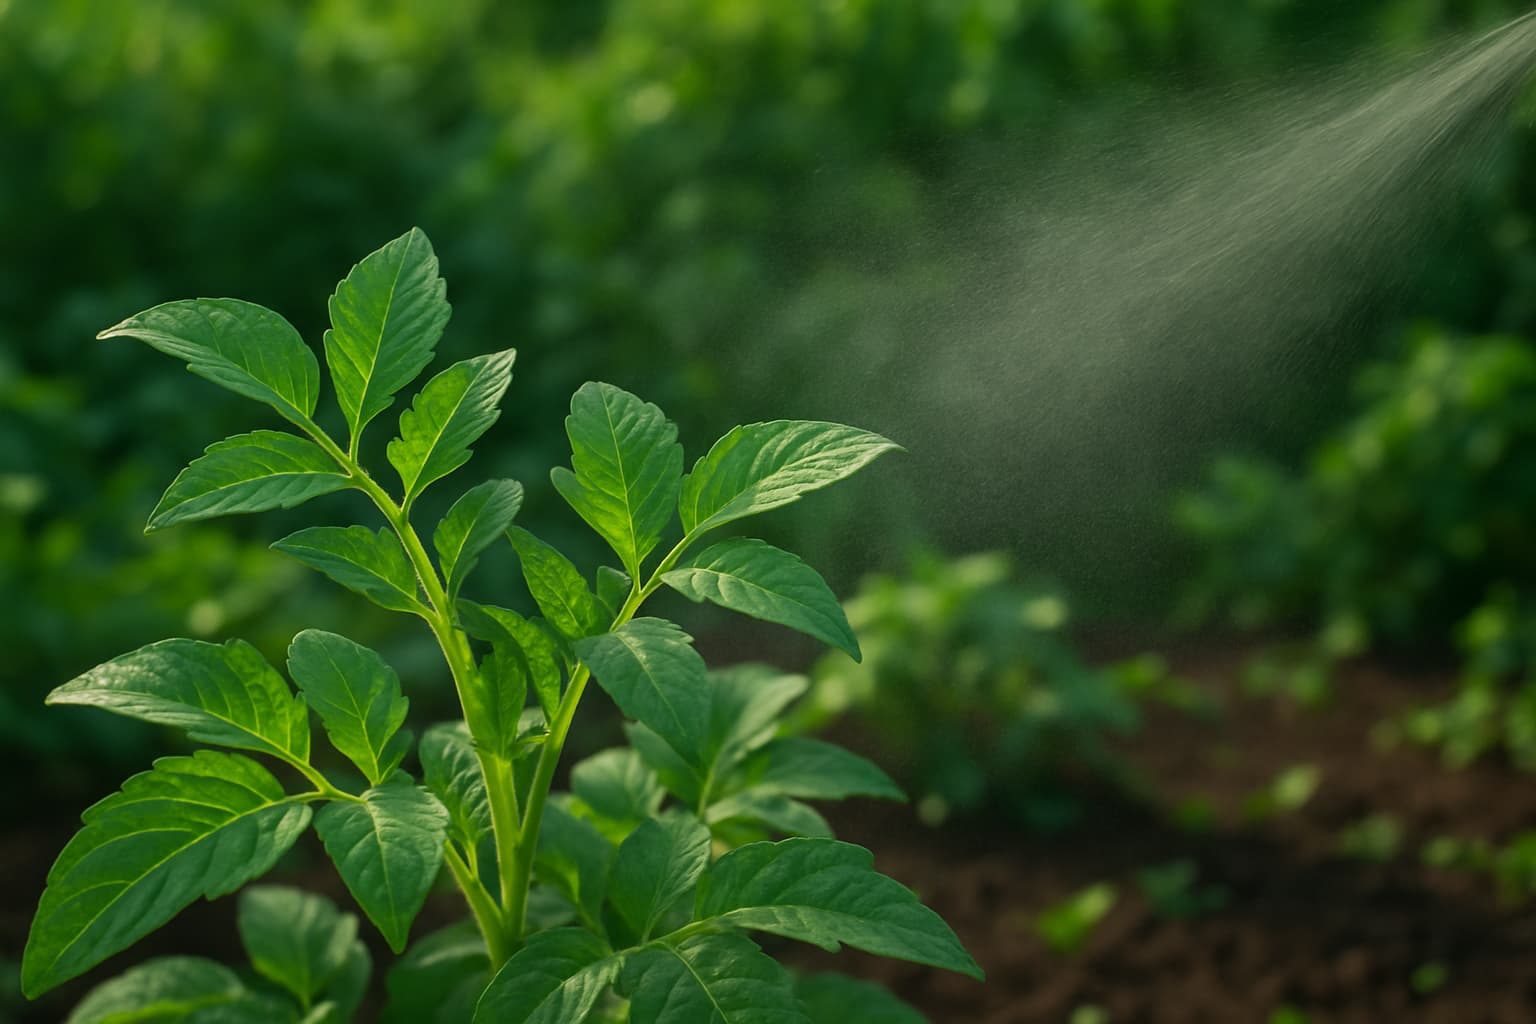
- Spray Thoroughly — Top and Bottom
Neem works on contact, so it’s crucial to cover both the tops and undersides of leaves, stems, and any visible pests. Many insects hide on the underside, so don’t skimp here.
Bonus Tip: Use a fine mist sprayer to get even coverage and avoid soaking the plant.
- Repeat Applications
For existing infestations, apply neem every 7–10 days until the pest population is under control. For prevention, once every 2–3 weeks usually does the trick.
Persistence is key — neem doesn’t kill pests instantly, but it gradually weakens and repels them.
Safety Considerations: What You Need to Know
While neem oil is generally safe, it still deserves respect. Here’s how to stay on the safe side:
- Wear gloves and protective eyewear when mixing and spraying.
- Keep pets and kids away from treated areas until dry.
- Don’t exceed recommended concentrations — more is not better.
- Avoid spraying flowering plants to protect bees and other pollinators.
- Store neem oil in a cool, dark place, as heat and light can degrade its effectiveness.
Neem and Beneficial Insects: A Balanced Approach
One of neem’s biggest perks is that it doesn’t harm most beneficial insects — like ladybugs, lacewings, or earthworms — as long as they’re not directly sprayed.
Neem targets soft-bodied pests, so it’s relatively selective. That said, it’s always smart to spray in the early morning or late evening when pollinators are inactive.
Common Mistakes to Avoid
Even natural solutions can go wrong if used incorrectly. Here are some common neem-oil slipups:
Spraying in direct sunlight: Leads to leaf burn. Always spray in low-light hours.
Overuse: Too-frequent spraying can stress plants and harm beneficial insects.
Wrong dilution: Too concentrated? You risk damaging your plants. Too weak? You won’t affect the pests.
Skipping the underside of leaves: That’s where many pests hide and lay eggs. Missing this spot makes your spray far less effective.
Using expired oil: Neem oil loses potency over time. If it smells rancid or separates excessively, it’s probably time to toss it.
What About Neem Cakes and Granules?
Neem isn’t just for spraying! You can also use neem cake — the solid residue left after neem oil is extracted — as a soil amendment. It acts as:
- A natural fertilizer
- A root pest deterrent (like nematodes)
- A slow-release pest repellent
Mix it into your soil before planting or around the base of established plants for added protection.
Is Neem Right for Every Plant?
Most plants tolerate neem well, but some delicate species may react poorly — especially if overapplied. Sensitive plants may include:
- Ferns
- Succulents like echeveria
- Some types of African violets
Always start with a test spray and monitor your plants for signs of stress.
Let’s Hear From You!
Have you tried neem oil in your garden? What worked well (or didn’t)? Share your experience in the comments — we’d love to learn from fellow green thumbs!
And if you found this guide helpful, don’t forget to share it with your gardening buddies!
Happy growing 🌿